How To Set Up Login Access By IP
For extra account protection and security you may wish to only allow certain IP addresses to login to your Paxum account.
Paxum offers you the option to limit account access by IP and this enhanced security feature can be easily set up from within your Paxum Account Control Panel.
IMPORTANT NOTICE: NEVER ADD DYNAMIC IP ADDRESSES TO THE ACCESS BY IP LIST
To set up Account Access by IP for your account, login to your Paxum Account and click the SECURITY link in the top menu. A new page will load displaying your Security Options. Click the link that reads Access By IP:

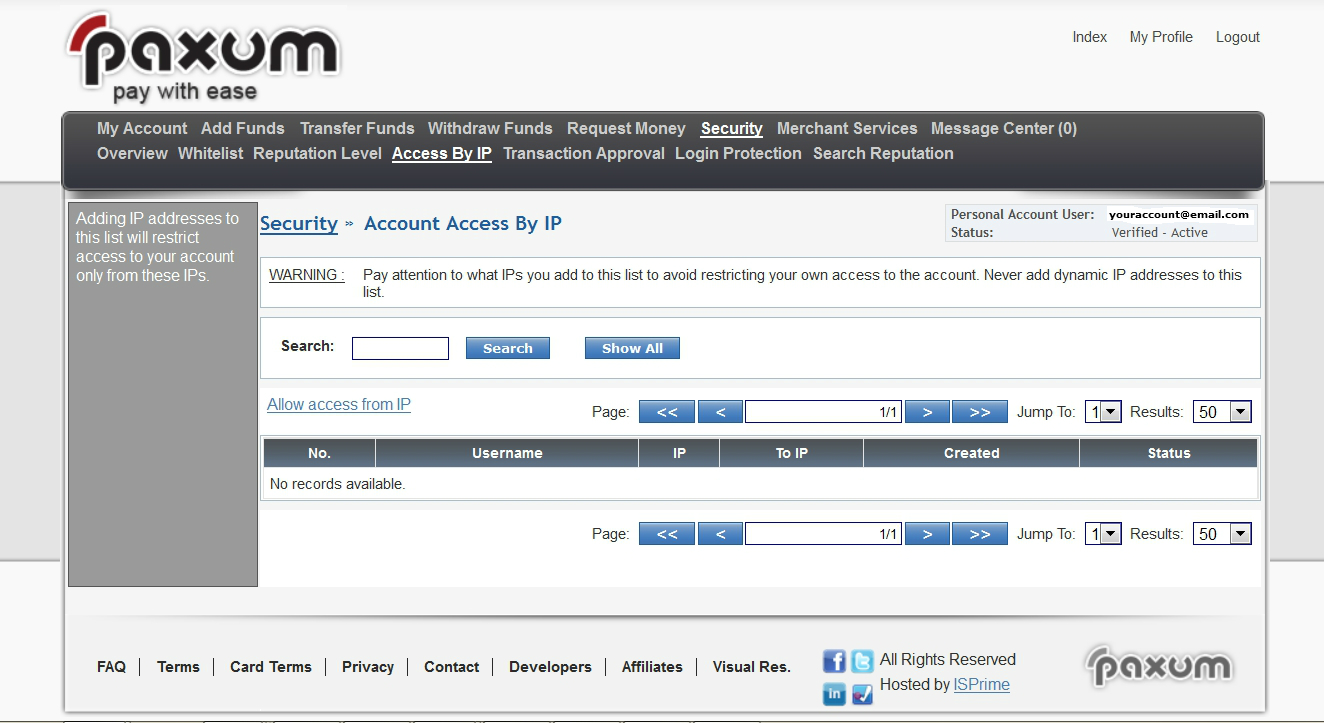
A new page will load that contains a link “Allow Access from IP”. Click that link:

A new page will load where you can enter either a Single IP or an IP range. Input the data and click the blue SAVE button to save the IPs to your account:
**IMPORTANT – MAKE SURE THAT THE FIRST IP YOU ADD IS THE IP YOU ARE ACTIVELY LOGGED IN WITH AT THE TIME TO AVOID ANY ACCESS ISSUES**

Once the IPs are added to your account you can view them or change them at any time by logging in and accessing the Access By IP page from the Security page.
🙂